How to Load Your VTuber
- Move your files Extract your model's ZIP file. Place the entire folder into VTube Studio's designated Live2DModels directory. VTube Studio\VTube Studio_Data\StreamingAssets\Live2DModels
- Open VTube Studio Launch the application. Double-click anywhere to bring up the main side menu.
- Select your Model Click the pink "Avatar" icon (first icon on the left menu) and find your model's icon in the list. Select it to load!
- Auto-Setup If prompted, click "Auto-Setup" for your iPhone/Webcam tracking to get standard breathing and blinking working immediately.
Adding Live2D Items
- Prepare the Item Folder Just like your model, place the item's unzipped folder into the Items directory. VTube Studio\VTube Studio_Data\StreamingAssets\Items
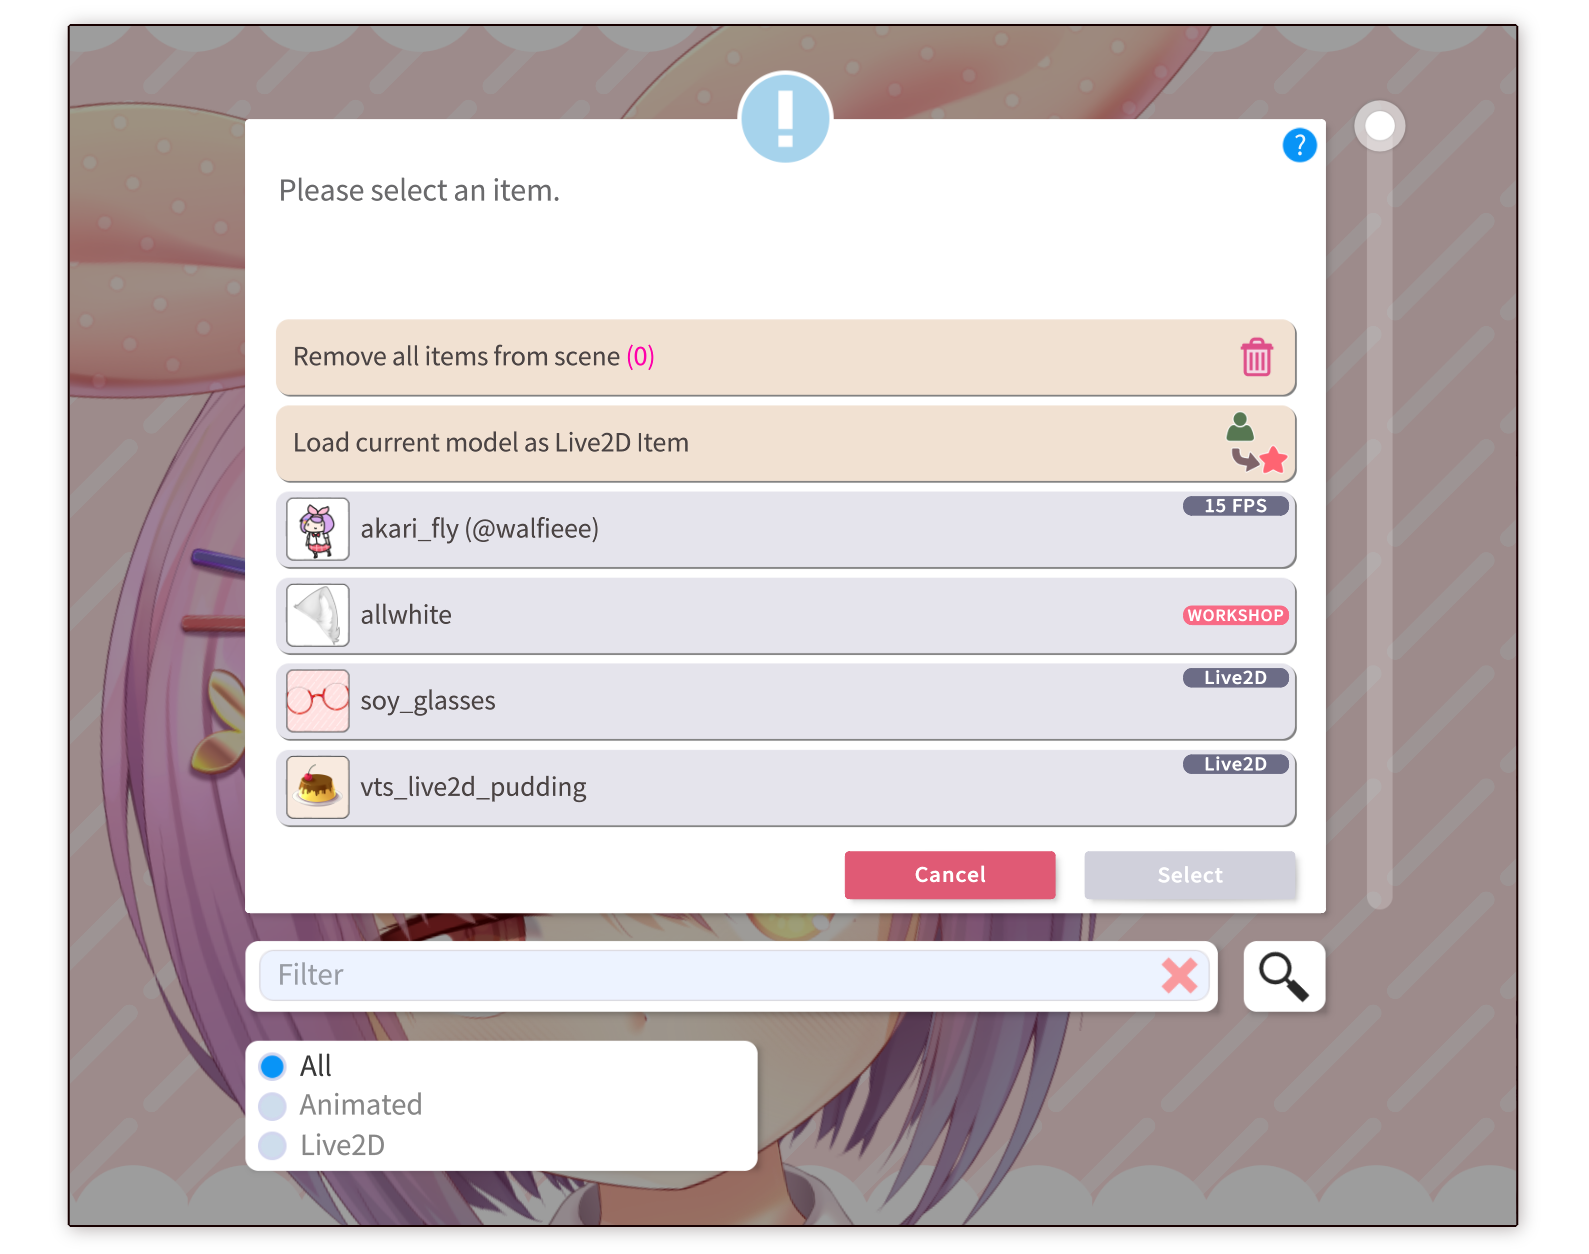
- Spawn the Item In VTube Studio, click the green "Star" icon on the side menu. Find your item in the menu and select it to drop it into the scene.
- Attach to your Model Drag the item over your model. A pin icon will appear, allowing you to attach it directly to your model's movement.
- Between-Layer Pinning You can pin items to specific ArtMeshes! When pinning, select "Pin to ArtMesh" to sandwich an item between layers (e.g., placing a hairpin under the front bangs but over the face).
Recoloring Models & Items
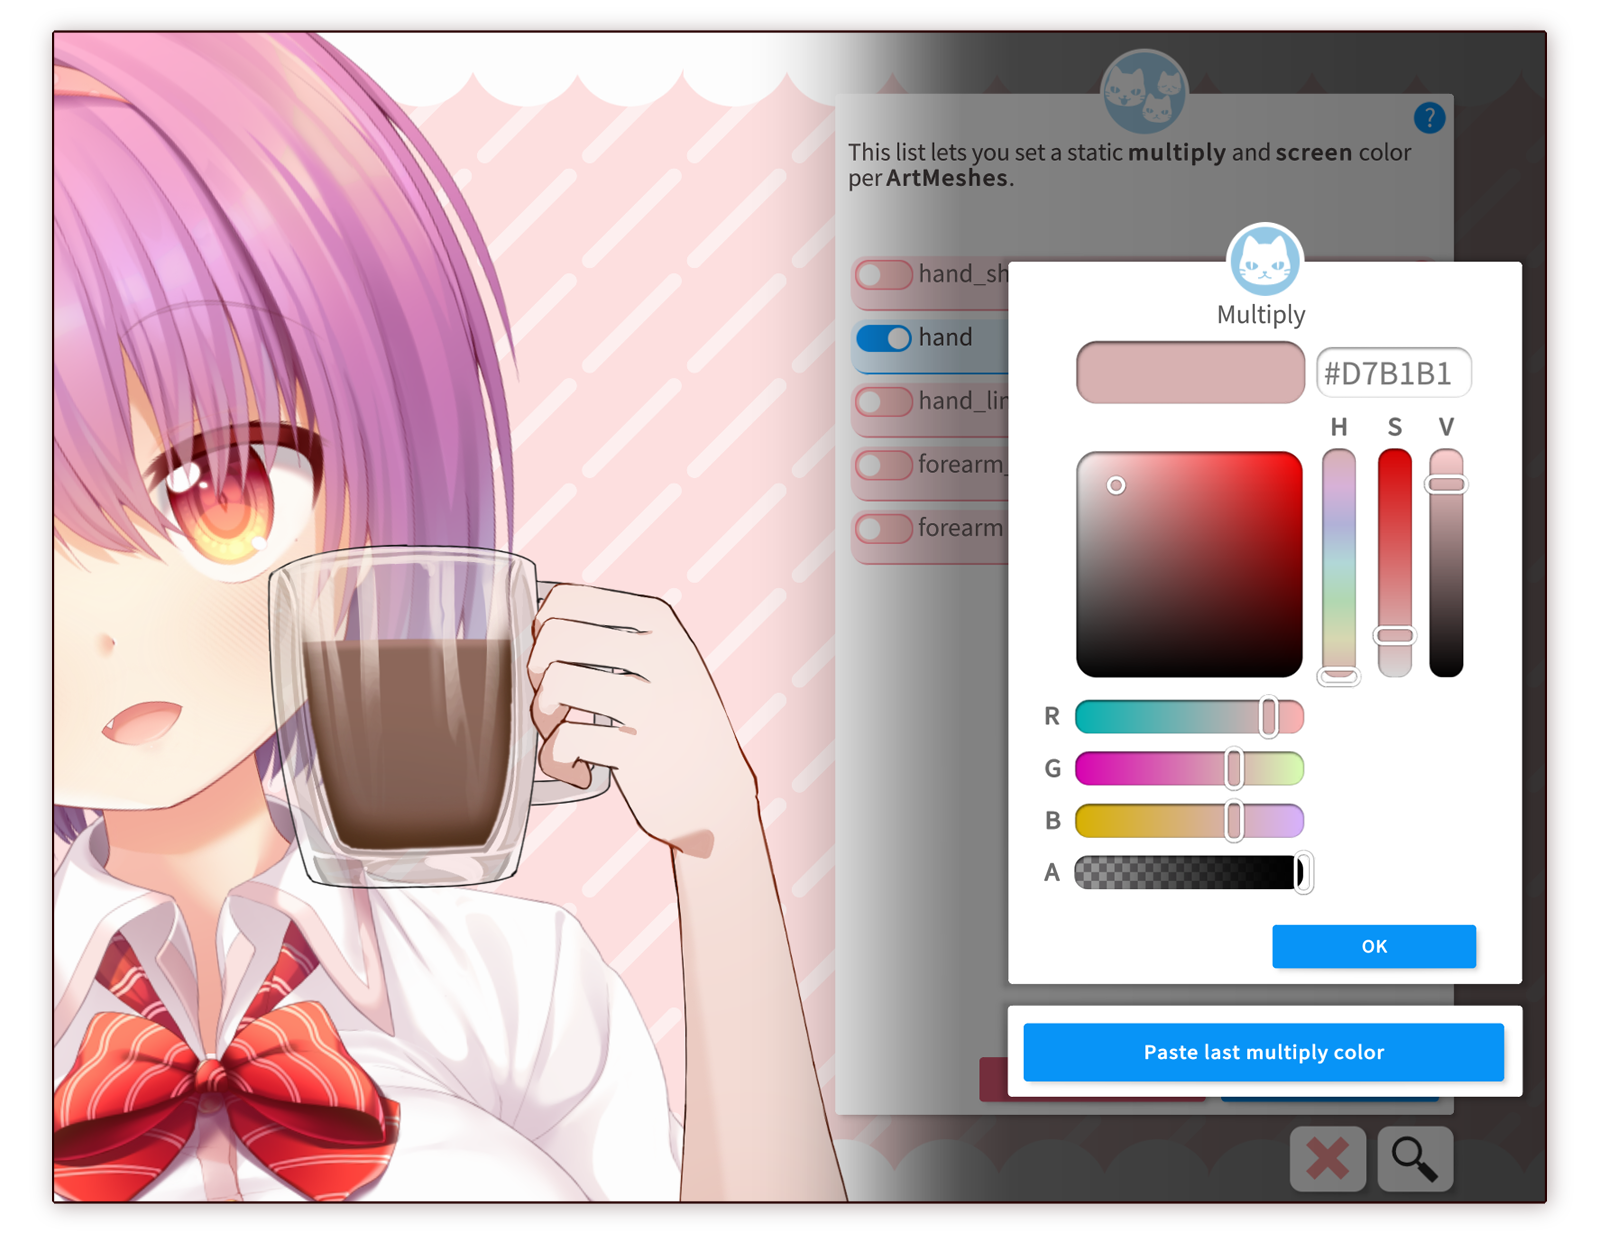
- In-App: Select the ArtMesh Open VTube Studio settings and go to the "Model Settings" tab. Scroll down to "Customize Model" and click "Customize Multiply/Screen Color".
- In-App: Adjust the Tints Select the specific part of your model. Change the Multiply Color (darkens/tints) or Screen Color (lightens) to create new color palettes!
- External: Edit the Texture File For complete control, go to your model or item's folder and locate the texture file (usually a .png). Open it in any art program and recolor it directly.
- Fixing White Outlines If you edit a texture externally and notice white borders appearing in VTube Studio, go to the model settings and toggle "Fix white outlines" for that specific ArtMesh.